Best Exercise for Lower Back Pain
The first movement that I do in my daily movement routine, consists of the back extension exercise. Not only has this movement been clinically validated as one of the best exercises to eliminate back pain, but it also helps to reverse the adverse effects of sitting or bad posture.
If you have low back pain or sciatica, you would absolutely benefit from chiropractic adjustments to help you manage your pain and improve your overall mobility. On top of chiropractic care, postural correction and exercises should be part of your home exercise program. O
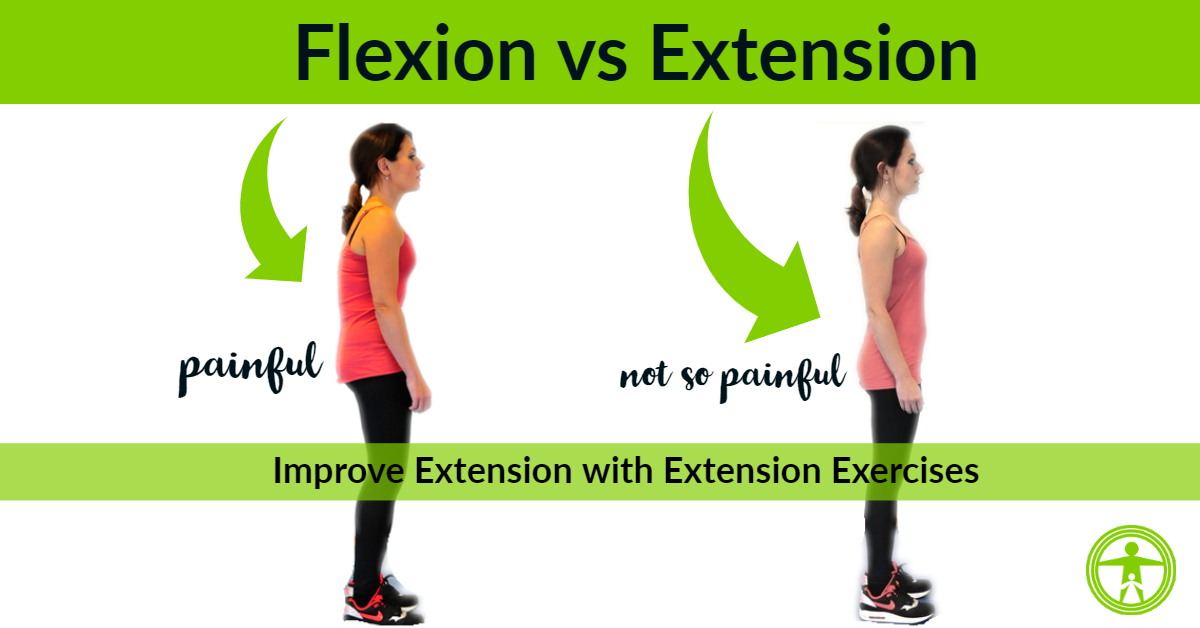
Many people with back pain are familiar with that hunched over, awkward position that the body can take on when its in pain. In short, when muscles, ligaments, tendons and discs are injured, these soft tissues cause a series of reactions that generally result in excessive flexion positions.
Excessive Flexion Positions will look like the female patient pictured below.
The low back's natural, normal position is to be in a extended position. This means that there is less pressure and tension placed on our discs when we have this alignment. Whether it's bad posture, sitting at a desktop or an injury, the spine tends to flex when injured and so step number one is to restore the normal position with extension exercises.
Obviously when you're hurting, there are few exercises that you want to do. The good news is that back extensions are easy to perform, even when you're back pain is pretty bad.
In this article, I will share with you a few progressions or steps towards performing the back extension appropriately.
Of course, before trying any exercise program for your back, check in with your doctor to ensure that this exercise is safe for you to do.
1. Prone Lying Position
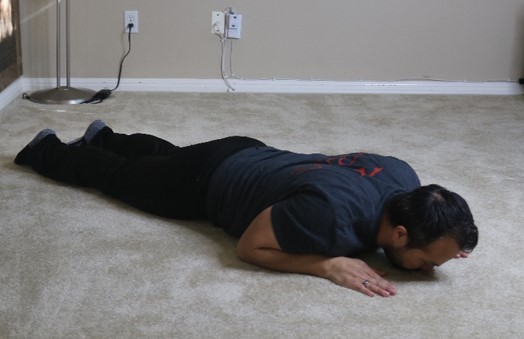
The first progression or easiest position to get into for low back pain is going to be the prone (laying face down) position. This exercise is simply lying flat on your stomach. If you're having acute, or sudden back pain, then this is the position I would advise to start with.
To do the exercise, lie on your stomach, placing hands next to your underarms and relax. Try to focus on breathing, slowly, in and out and allowing your stomach to completely relax.
After a few minutes of prone lying, attempt to move on to the second progression, which is propping yourself up on your elbows. If your pain prevents you from propping on your elbows, continue the prone lying position for a day or two, and try again.
2. Prone Elbow Position
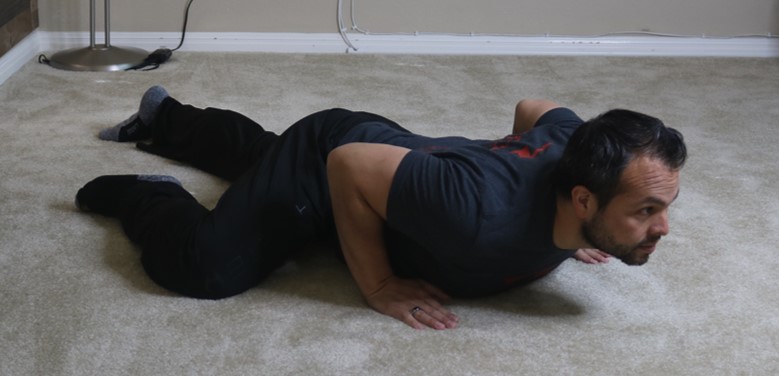
If you can lay on your stomach and prop yourself up on your elbows without a significant amount of pain, then progress to this step.
Take a few deep breaths and relax while on your elbows, then move back to the first position, where you are completely laying on the floor.
Again, take a few deep breaths and relax and prop yourself back up onto your elbows.
You will want to repeat this process 15 times. What we are doing is creating a pumping effect for your low back, where you are propping yourself up and down in a safe manner. This allows for fluid to move in and out of your discs as well as sends signals to your brain that your body is able to move safely.
While you are propped up, be sure to monitor your symptoms.
Centralization, or moving your pain towards the center of the spine, is a good sign and is a signal that this is the correct exercise for you. If your pain gets worse or shoots down your glutes, thigh or leg, then do not progress to anything else and continue performing this position for 3 days.
If you can prop yourself up to your elbows with no increase in pain or symptoms, then progress to exercise number three: the press up.
3. Halfway Prone Press Up
The prone press up should be one of the first exercises you start doing when you experience back pain. To perform the exercise, lie on your stomach with your hands next to your underarms.
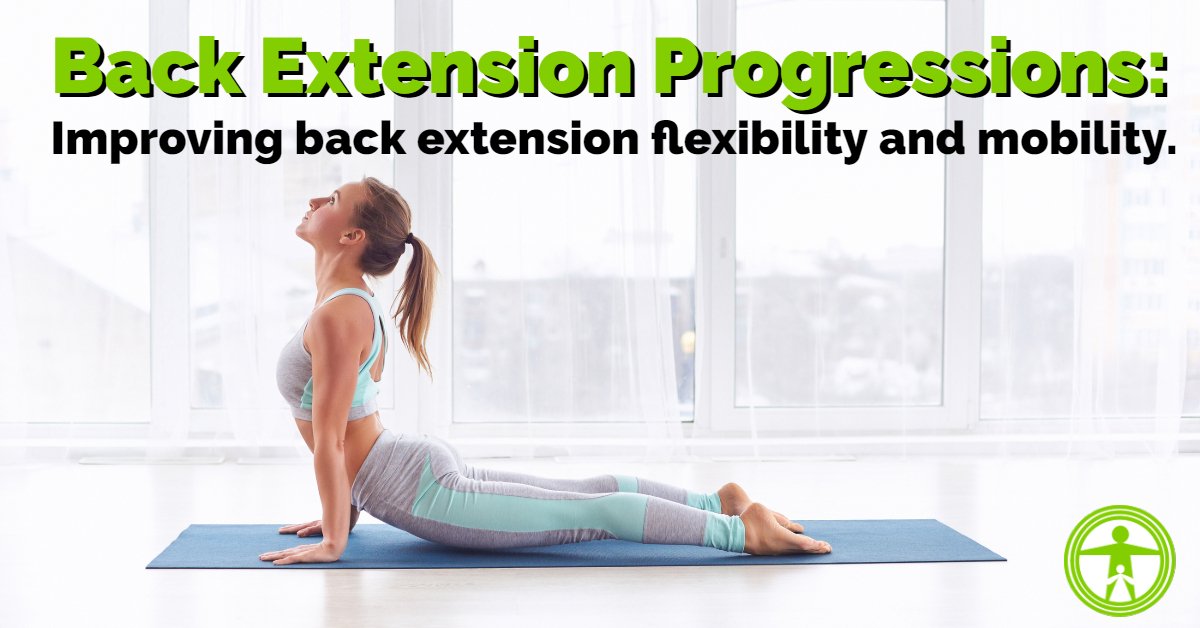
Keep your back, hips and legs relaxed, and then use your arms to press your upper back and shoulders up (arching backwards), similar to upward dog or cobra yoga poses.
On a scale of 1 to 10, with 10 being the most extreme pain, you want to monitor your pain as you move up. You never want your pain level to go above a 6. Your goal is to find that sweet spot where pain stays below a six but you are moving yourself up.
Once you find that level that is safe, hold the press up position for one second, and then slowly return to the starting position. Repeat the exercise for 15 repetitions.
Monitor your symptoms for signs of centralization. If your symptoms are moving towards the center of your spine, that is a good sign and you should continue with the press ups.
If you can move your body all the way up into a complete back extension, then progress to exercise number 4: the back extension.
4. Full Prone Press Up (The Back Extension)
The full prone press up is one of the best exercises for treating low back pain. The vast majority of disc injuries result in bulging of the disc towards the back. So by performing back extensions, the pressure of this exercise may force the disc forward, away from the nerves and soft tissue.
If you're able to perform a full back extension, I would suggest 10-15 reps every 3 hours until your back pain is completely resolved.
Remember, keep your back, hips and legs relaxed while performing this exercise. Don't move too quickly and make sure you continue to breathe.
4. Full Prone Modification
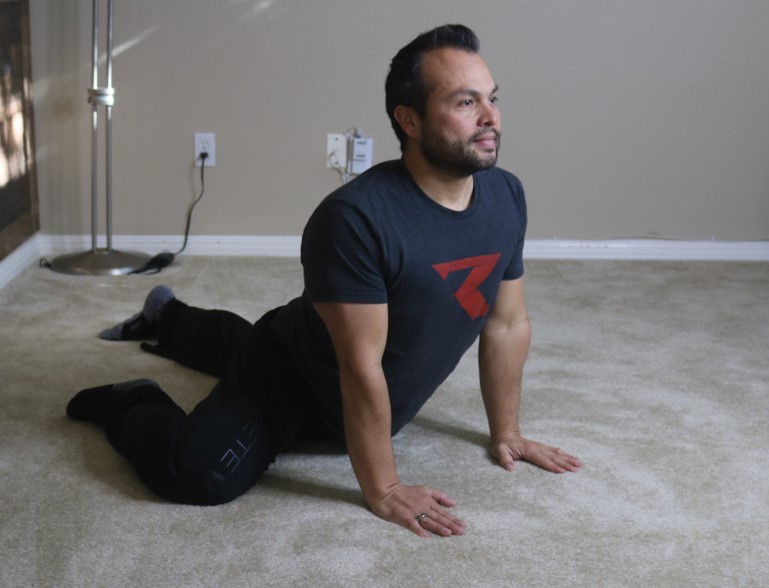
Finally, you can add an additional modification by bringing your knee up towards your elbow and moving into the half or full extended position.
Bulging discs or herniated discs can swell backwards and to the side.
This modification may help you to identify a specific movement or position to offers additional relief.
Final Thoughts
If you have low back pain, you will absolutely benefit from these movements. The exercises are designed to quickly and safely help you improve your movement, decrease your pain and resolve disc bulges. Of course, if you're doing these exercises consistently and you are still having problems, consider scheduling an examination to make sure it's not serious.

